Manage Profiles
There are four tabs to be completed for each profile, Profile Items, Tender Methods, Messages and Member Info
Contents
Profile Items
Grid Size
All POS items are place on a grid. The default grid has 6 columns and 4 rows. You have to option to increase or reduce the gird size to meet your needs by using the buttons at the bottom of the grid.
![]()
The maximum grid size can be 8x6 and the minimum grid size can be 4x4.
Adding Items
The Profile Items tab is where sales items are added to a profile.
The procedure is identical for all profile types.
.PNG)
To add an item to the menu, navigate to the item or category in the Inventory Manager and then, using your mouse, drag the item onto a button on the POS grid.
Note: If you add a category to the grid, all of the child categories and items will be added as well. To navigate down the hierarchy, simply click on the item.
Modifying an Item
To modify an item, right click on it on the grid.
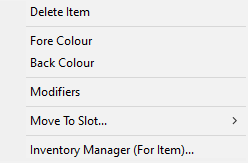
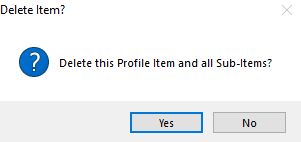
Delete Item
If you wish to delete an item, select Delete Item and then clck Yes on the dialogue box.
Fore Colour
If you wish to change the text color, select Fore Colour
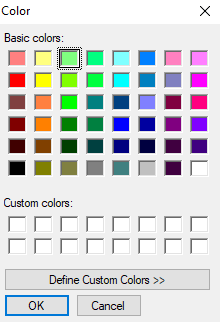
Select the desired color and then click OK.
Back Colour
If you wish to change the background color, select Back Colour
Select the desired color and then click OK.
Note: You can perform all of the above functions on multiple items by multi-selecting the items you wish to modify. Hold down the Crtl key on your keyboard and then sequentially click on the items you wish to modify. As you do so they will be clearly outlined. Once you finish selecting items, release the Ctrl key, then right click to select your desired function.
Move to Slot
If you wish to relocate a button, select Move to Slot
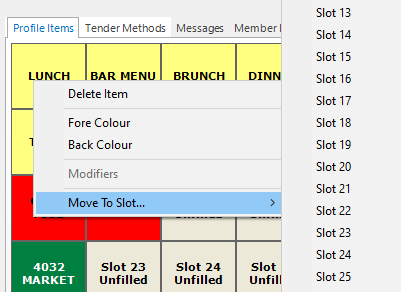
Select the slot to which to move the button.
Note: If the slot to which you want to move the button is occupied, that button will be moved one button to the left and so on until an empty slot is encountered.
Inventory Manager (For Item)
You can launch the Inventory Manager directly from a sales item on the POS grid. This will allow you to modify the item without having to exit the Profile Manager.
Modifiers
Add a Modifier
Modifiers only apply to food & beverage profiles. You can add modifiers to an individual sales item or to all of the items in a category and its child category items. You cannot add modifiers using the multi-select option.
To modify an item or group, select the modifier group from the Modifiers tree view (see image above). If the button represents a group, the following dialogue will appear:
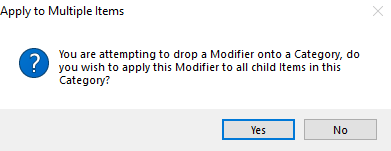
To proceed, select Yes.
Viewing and Changing Modifiers for an Item
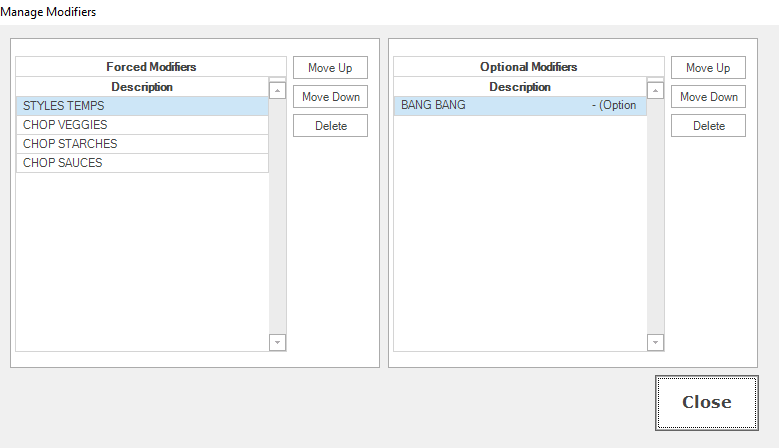
The left hand panel has the Forced Modifiers and the right hand panel has the Optional Modifiers. In each panel, you can change the sequence that the modifiers will appear in the POS by using th Move Up and Move Down buttons. You can also delete a modifier from an item.
Tender Methods
The Tender Methods tab also you designate which tender methods which you will accept for the profile.
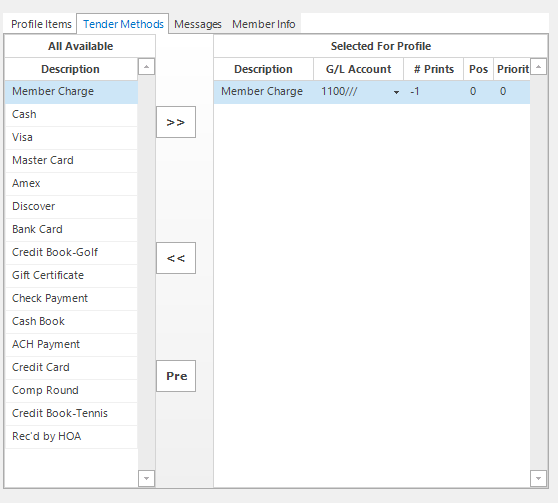
The left hand panel contains a list of all tender methods which you have set up.
To add tender methods t the profile, select the method in the left hand panel and then click on the right arrows to move it to the Selected For profile Panel. Once the tender method has been added you have to configure its behavior;
- G/L Account: Select the GL account to which you want the tender method to post. The On Account tender method, will automatically selects its tender method.
- # prints: Select the number of receipts to print (-1 will allow the user to select the number of receipts to print when tendering the sale)
- Pos: Select the position on the tender grid where you want the tender button to appear. There are 3 columns and 5 rows. Use any number between 1 and 15. The positions go down and then across. To preview the tender screen during the process, click on the PRE button between the two panels.
- Priority: You can set the system to automatically select tender methods ib priority sequence. This can be useful, for example, if you want to automatically apply a member's credit book balance against a purchase and then apply the balance On Account. Set priorities starting at 1. There is likely no reason to have more than 2 tender methods with a priority.
Messages
Complete the form to create a message to be printed at the bottom of the POS receipt.
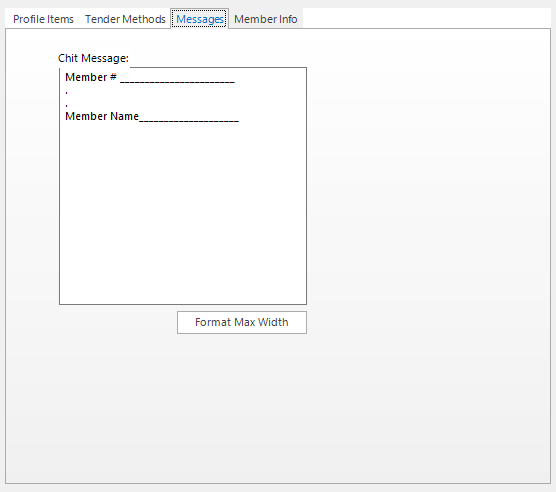
Use the Format Max Width button to to ensure that the message will fit the receipt.
Member Info
You can configure the member information that the servers / clerks will see about the member on the POS screen. This is profile specific, so that only information pertinent to that part of the operation will be seen by the server /clerk.
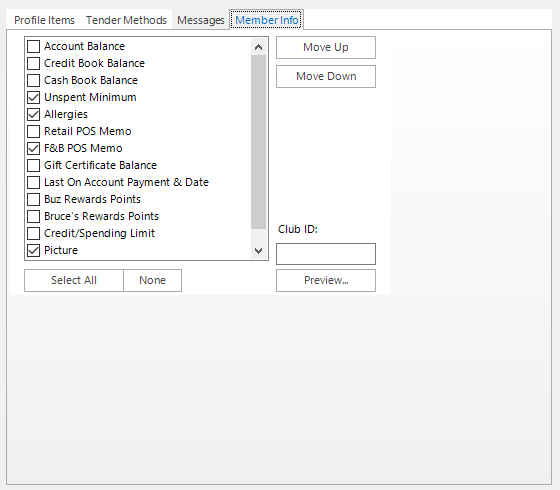
Check off the information to be displayed. To preview the member info screen, enter a clubid and click the preview button.
Remember to save the profile when you are done.