Table Setup
To launch the table setup, select POS Settings/Table Setup.
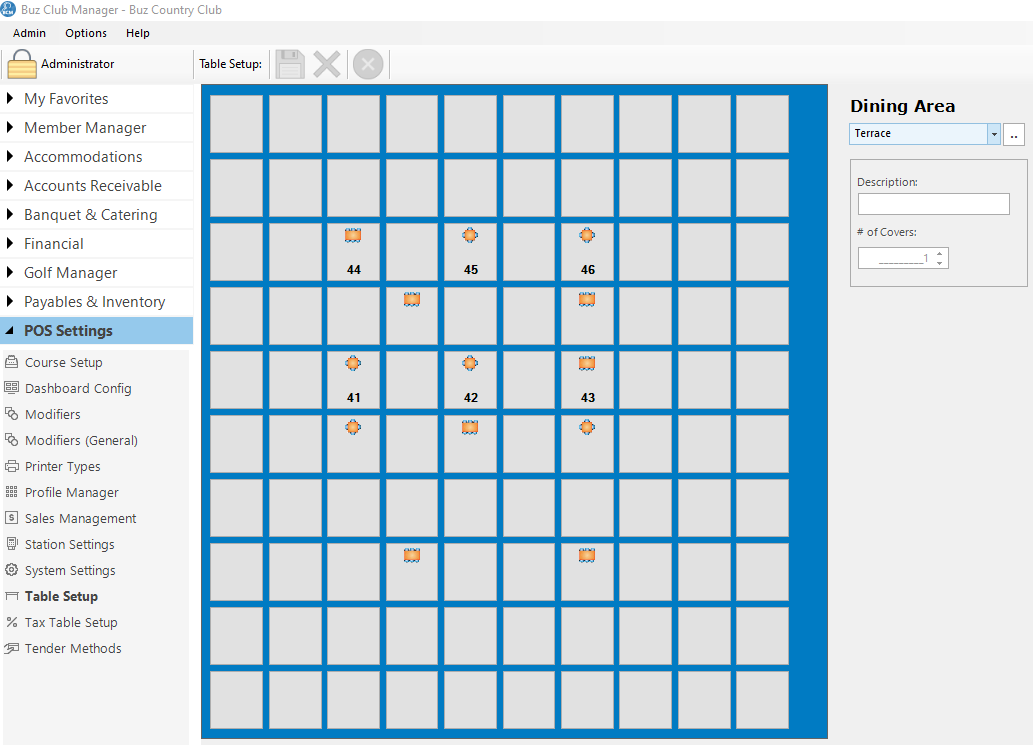
Tool Bar
The Tool Bar has options for:
- Save
- Delete
- Cancel
Add/Edit Dining Areas
To add or edit a dining area, click the button to the right of the Dining Area field.

Add Dining Area
Click the New button. Enter the name or description of the dining area, then click Save.
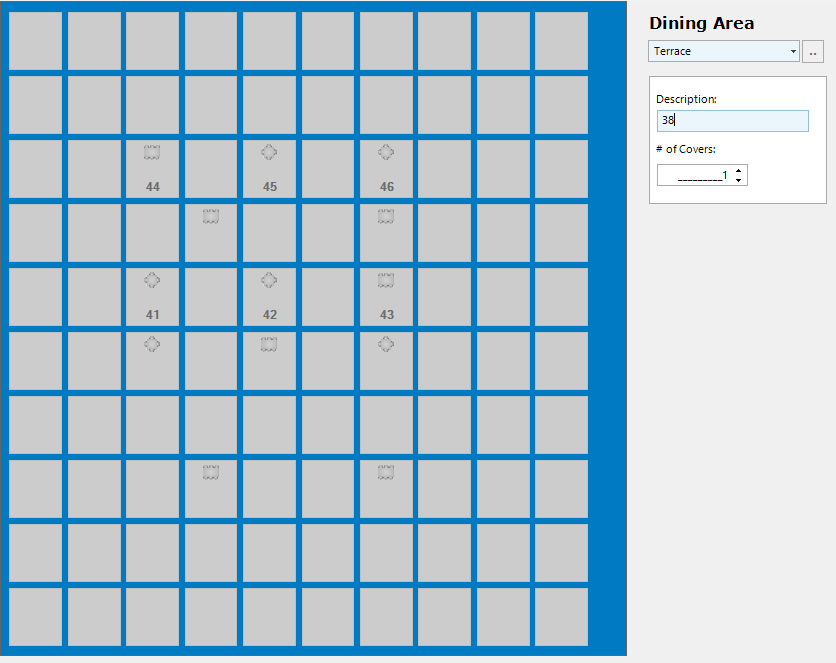
Rename Dining Area
To rename an existing dining area, click on the dining area in the left hand panel, then click in the Description field. Make the desired changes, then click Save.
Delete Dining Area
To delete a dining area, click on the dining area in the left hand panel, then select Delete. Confirm the deletion request to complete the deletion.
Add/Modify Seats
Select the dining area for which seats are to be added or modified, using the drop down arrow to the right of the Description field.
Add Seat
Click on the button which represents the seat to be added. Complete the information about the seat in the upper right hand corner.
- Description: This is a short description such as 'Table 22' which will appear on the table button.
- # of Covers: This represents the standard maximum number of seats for the table. There will be a graphic on the table button which denotes the # of covers.
Once the information is complete, click Save.
Note: Seats can be added to a table in table service mode. Many customers have elected to set each table as having a single seat and simply add seats as required during service.
Modify Seat
To modify a seat, click on the seat in the table grid. Make the desired changes to the Description and/or # of Covers and click Save.
Delete Seat
To Delete a seat. click on the seat in the table grid. Click Delete, then confirm delete request. The seat will be deleted.