FAQs
How do I upload a newsletter to the website using a File Cabinet page?
Click here if you need directions on how to create a File Cabinet page. Proceed with the instructions below if you have already created a File Cabinet page.
How to upload a newsletter
1. Log in to the website as the administrator.
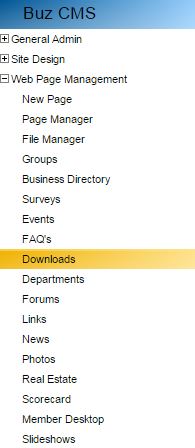
2. From the panel on the left hand-side, select the options for Downloads under Web Page Management:
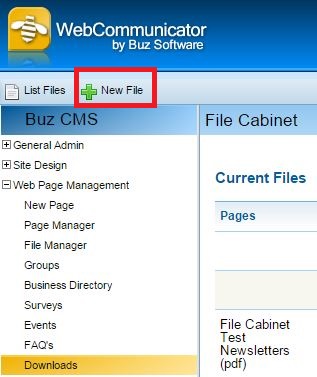
3. Now you should be able to see the option for New File in the top level menu:
4. After clicking on New File, you will see the following window:
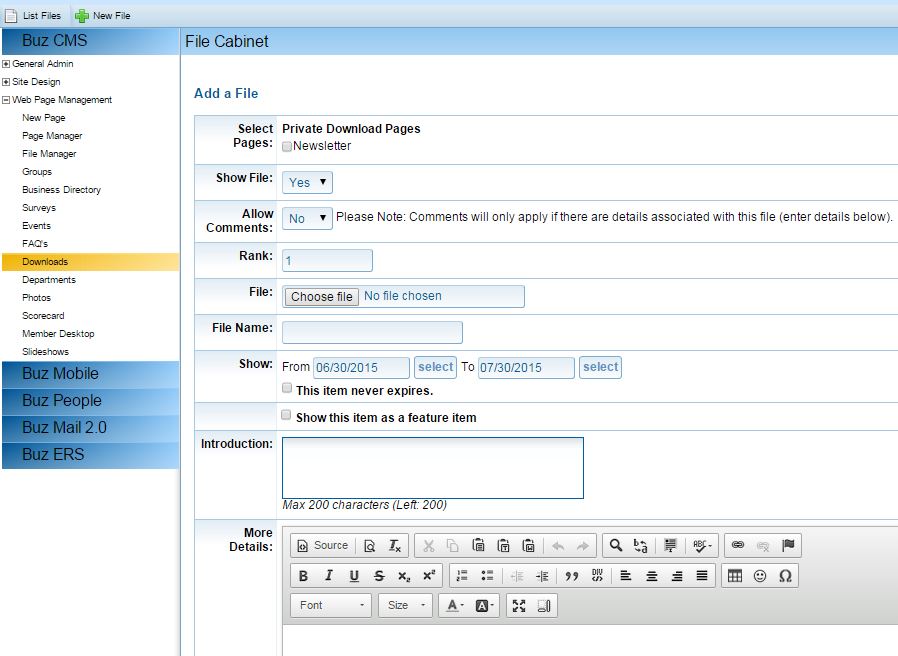
- Select Pages: Here you will have to select an already existing File Cabinet page where your file will be uploaded to. In this example it's a page called Newsletter.
- Show File: Set this option to 'Yes' if you want the file to be shown on the website as soon as you've uploaded it.
- Allow Comments: For monthly newsletters this option is usually set to 'No'.
- Rank: This is the order in which the file appears on the website.
- File: Click on 'Choose file' to browse your documents and select the PDF file for upload.
- File Name: Name of the file which appears on the website. For monthly newsletters it can reflect the month and year this newsletter was published (e.g. "July 2015 Newsletter").
- Show: The amount of time this newsletter will be available to the members on the website. Select "This item never expires" to keep the file on the website indefinitely.
- Show this item as a feature item: Select this option if you would like for this item to be featured on the Member Home page. Once selected, you will be prompted to enter a start and end date of this feature option.
Once you've made your selections, you may click Update File on the bottom of the page to upload the file to your File Cabinet page.