Invoices
An invoice is a commercial document issued by a buyer to a seller, indicating types, quantities, and agreed prices for products or services the seller will provide to the buyer. In the Buz paradigm, invoices are used for the purchase products and services which the purchase will use for the running of its operations and which will be expensed accordingly.
Contents
Interface
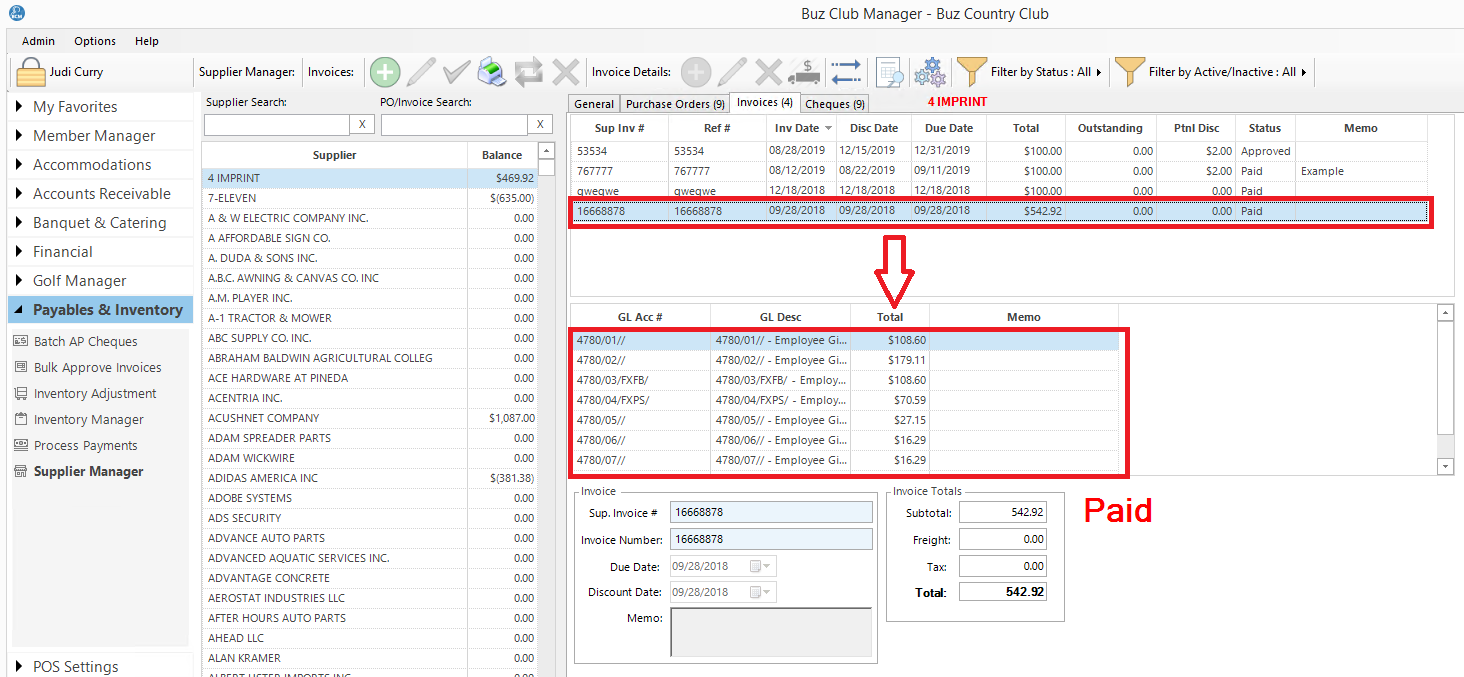
The Invoices tab is divided into three sections:
Invoice Listing
This top section contains a list of all purchase orders for the supplier and provides sortable columns:
- Sup Inv# - Supplier invoice Number
- Ref # - Internal reference number (optional)
- Inv Date - Invoice Date
- Disc Date - Discount Date
- Due Date - Date the full amount of the invoice must be paid by
- Total - Total invoice amount
- Outstanding - Amount yet to be paid
- Ptnl Disc - Potential discount, if invoice is paid by the discount date
- Status - Purchase Order status as it moves through the process (open, issued, received, approved and paid)
- Memo
A number of actions are available by right mouse clicking on any any in the list.
If the invoice is approved but not paid.
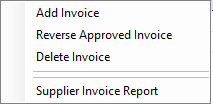
If the invoice is paid.

If you click on the Paid by Cheque menu, you will be navigated to the Cheque tab in the Supplier Manager, with the cheque in focus.
Invoice Details
The middle section contains a list of all of the items relating to the invoice highlighted above.
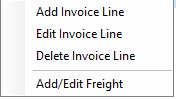
Prior to approval of an invoice, there are a number of actions are available by right mouse clicking on any purchase order in the list.
Invoice Summary Information
The bottom section contains summary information pertaining to the Invoice.
Managing Invoices
Step 1: Enter the invoice.
There are three ways to initiate the adding of an invoice. First ensure that the supplier for which you are adding an invoice is highlighted in the supplier list on the left.
- Using your keyboard, use the Ctrl-I combination
- Click on
 Tool Bar
 - Right mouse click anywhere in the list of invoices and select Add Invoice.
Commence completion of the invoice form.

Complete the form.
Next click on Add Items to add line items to the invoice.
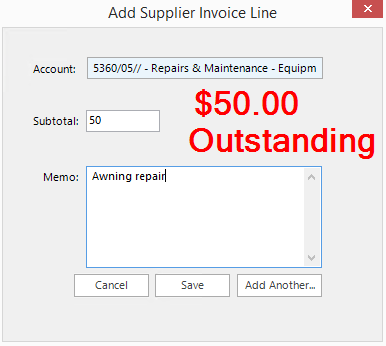
- Select the GL account to which you will be posting the expense, by entering the account number or description. The drop down list of GL accounts will filter down as you type ahead.
- Enter the subtotal (amount for the line item)
- Do not enter tax
- Enter a memo, if applicable. The memo will be recorded in the general ledger as additional information relating to the purchase.
- To add additional line items to the invoice, select Add Another. When amount outstanding (in red) disappears, the sum of the line items equals the total of the invoice. Click Save to complete the invoice.
Step 2: Add Freight
To add freight expense to an invoice, right mouse click in the center panel and select Add Freight. Simply complete the form to add freight. Note that the sum of the line items for the invoice, including freight, must be equal to the total value entered for the invoice.
Note: The Add/Edit Freight option should only be used if your club posts freight expense to a single expense account. If freight is posted by department, simply add a line item to the invoice details with the amount and account number to which the freight is to be expensed.
Step 3: Save the invoice
Note: Authorized personnel will have the option to Save and Approve the invoice in a single step.
Step 4: Approve the Invoice
Approving a invoice, closes the invoice and posts the transaction to the general ledger. An invoice can also be approved using Bulk Approve Invoices, which feature is covered in another section of this reference guide.
To approve an invoice right click on the invoice line item and select Approve Invoice. The following dialogue box will appear.
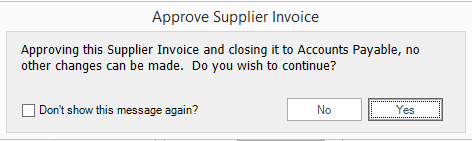
Click Yes and complete the form below.

Click Save to Approve the invoice.
Correcting Mistakes
At any stage during the process of an invoice, you can revert to the prior stage by right mouse clicking on the invoice line item in the top panel and selecting the appropriate action. Reverting from an approved invoice to the Open status will do a reversing journal entry. To revert from a paid invoice, the corresponding check (cheque) must first be canceled.